Succulents are everywhere these days and I love the look of them. I’ve made a few succulent planters using plastic succulents, they not only look nice, but you can also set them out and pretty much forget about them.
I was in a thrift store the other day and came across a wide mouth glass jar that was part of a canister set. It had a wooden lid with a rubber seal that was dried out and would no longer seal. Didn’t matter to me, it was the perfect size for a small succulent terrarium.
People tell me that succulents are easy to take care of, so I decided to take the plunge and adopt a few succulents and make my own DIY glass jar terrarium.
I stopped in a local nursery to find some baby succulents. I did find a few and they were a little pricey. Not surprising since they are so popular right now. I picked out three little succulent plants that were $5 each. As I was walking away, I spied this little succulent garden, that had three different types of succulents in it already for only $6.
Supplies I Used:
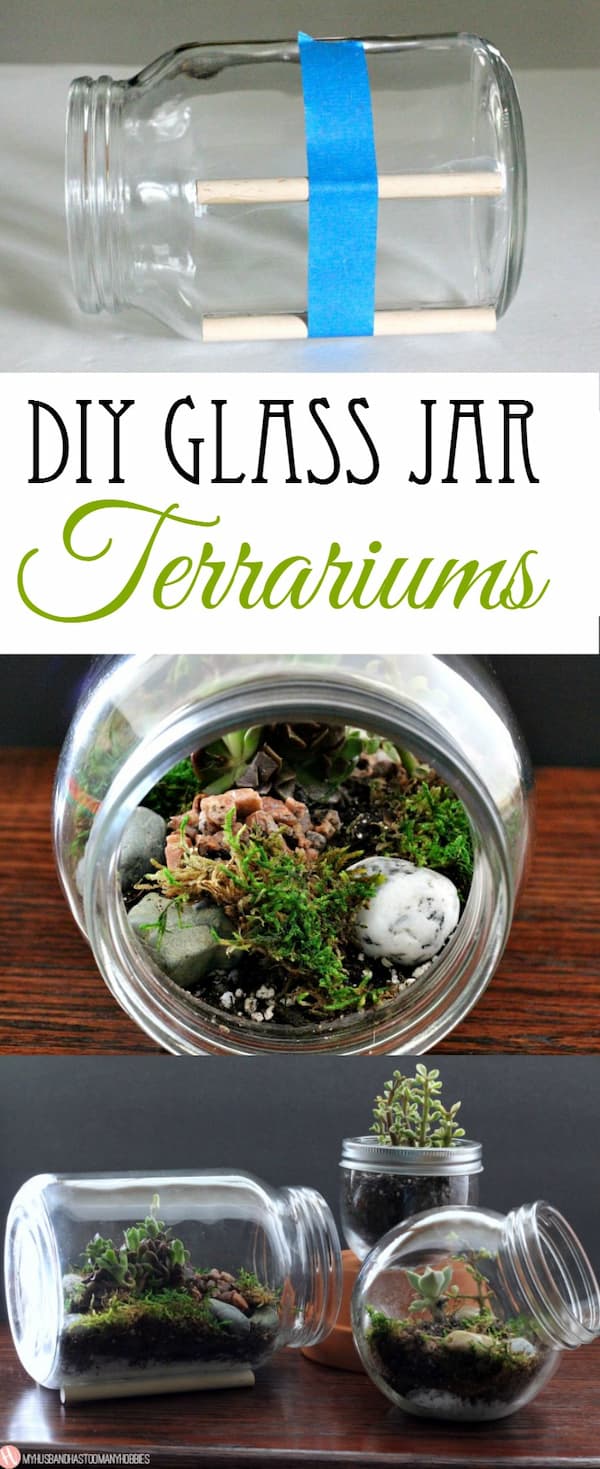
My glass jar measured 7 inches in height. I wanted to lay the jar on its side. To keep it from rolling off a shelf, I cut two 4-1/2 inch long dowel rods using a small hand saw. To clean up the cut edges, I rubbed the cut ends on a piece of sand paper for a minute. The dowel rods were then glued to the jar about 2 inches apart . I used a piece of painters tape to hold them in place while they dried.
After 24 hours, I felt the E6000 glue was strong enough for me to start working on the terrarium. I left the painters tape in place just to be safe. It’ll be removed after the recommended 72 hours of drying time is up.
I used some left over white pebble rock from my tin can planters that I got at the dollar store for a rock layer on the bottom of the jar.
The coffee filter was cut to size to fit over the rock. I misted it with the spray bottle of water and laid it over the white rock layer. I used this to keep the soil from sinking into the rock layer.
Note: After the soil is in place you won’t see the coffee filter.
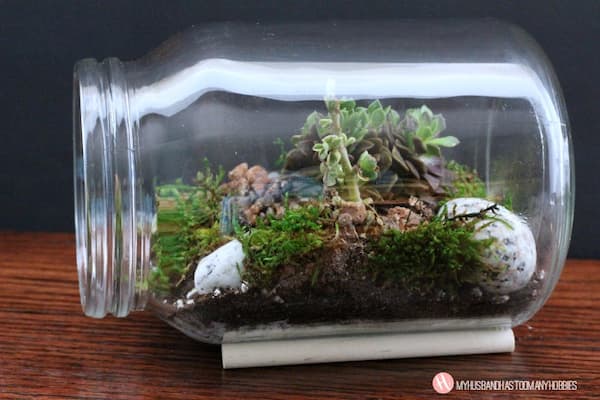
Next, add soil, plants, decorative rocks and moss. I used a few of the rocks we gathered on vacation last year.
A few pieces from a sheet of dried moss added a little more green. Once I had everything in place, I used the spray bottle of water to mist over everything.
I was pleased with how it turned out, however, I had a problem . . .
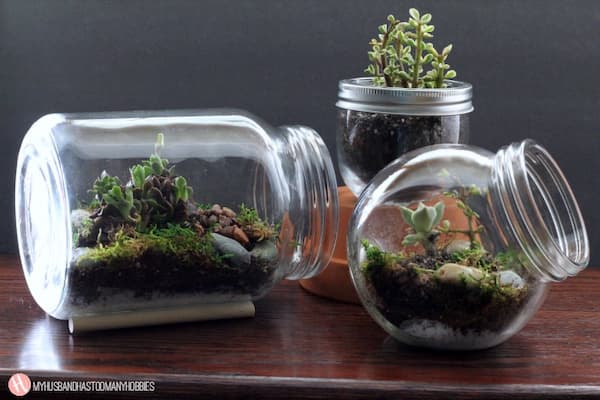
I had only had room for one type of plant in the glass jar. Guess my jar wasn’t big enough. So I found another jar that I picked up at the dollar store a few months ago and repeated the process.
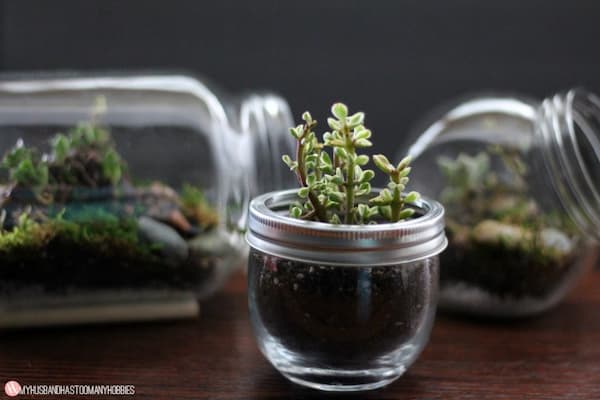
I still had succulents left . . so I emptied one of my ‘faux’ succulent planters that I made by using glass candle holders from the dollar store and filled it with the remaining succulents. Now all my baby succulents had a new home.
We keep some of our vacation rocks in mason jars, so I had an open mason jar on the table. After I filled the glass candle holder with the succulents, I got an idea and wanted to see if the mason jar ring would fit on the glass candle holder – and it did!
The mason jar ring obviously can’t screw on the candle holder, but it sits nicely on top to give it a different look.
I was so pleased with how these turned out! Now . . .I just have to keep my new babies alive! Can you believe all these came from the same little planter I brought home?
If you enjoyed this project, please Pin the image below to share! Thank you!!